Forcing Bulbs
Article by: Deborah L. Brown and Harold F. Wilkins, University of Minnesota Extension
October is the time of the year to begin potting your favorite spring bulbs to prepare them for winter flowering. Tulips, narcissus (daffodils), hyacinths, crocus, scillas, grape hyacinths, and lily of the valley can be forced into flower in late winter and early spring. A pot of tulips on the window sill in February can make a winter-worn gardener renew the desire to survive the winter.
First, only top quality, good-sized bulbs should be used. Your neighborhood greenhouse operator will tell you the varieties that are best suited for forcing. Don’t mix varieties in the same container, since they vary in their dates of flowering.

Figure 1. Place bulbs in a pot partially filled with soil. Cover with soil, leaving the “noses” exposed. Water thoroughly.
Begin by potting the bulbs in clean, sterile clay or plastic pots. Normally the “noses” of the bulbs are exposed. Do not bury the bulbs. The soil should be an open mixture of good garden loam (three parts), peat moss (two parts), and sand (one part). Don’t worry about soil fertility or feeding bulbs because they have enough stored food to flower one time.
Plant the bulbs close together in the pot. Usually 6 tulip bulbs, 3 hyacinths, 6 daffodils, or 15 crocus, will fit into a 6-inch pot. The flat side of the tulip bulb should be placed next to the rim of the pot since the largest leaf will always emerge and grow on that side, producing a more desirable looking pot.
It’s extremely important that bulbs be handled with care at all times. Never allow the bulbs to be in temperatures above 65 degrees F. When planting, the pot should be loosely filled with soil. Don’t press the bulbs into the soil. Allow1/4-inch of space at the top of the pot so it can be watered easily. The bulbs should be watered immediately upon planting, and thereafter the soil should never be allowed to become dry.
Cold Treatment
 Figure 2. Potted bulbs can be given the necessary cold treatment by burying them for several weeks in an outdoor pit or cold frame
Bulbs must be given a cold temperature treatment of 35–48 degrees F for a minimum of 12–13 weeks. This cold treatment can be provided by either a cold frame, an unheated attic or cellar, or even your refrigerator’s vegetable section. In the refrigerator, the pots should be covered with plastic bags that have had a few breathing holes punched in them. With cold frames in Minnesota a deep mulch must be used. Cover the pots with 10 inches of soil, then cover with 10 inches of mulch (hay, sawdust, or leaves). The bulbs must not be allowed to freeze.
Forcing in pots
Mark your calendar to remind yourself when the first pots can be removed from storage for forcing to begin. If planted October 1, bring the first pots into the home right after Christmas. For a continuous supply of flowers, bring in a few pots at weekly intervals. On the average the bulbs will flower in three to four weeks. Closer to spring, they flower more rapidly.
In the home, place the pots in a cool, sunny location. A temperature of 50–60 degrees F is preferred for the first week or until the shoots and leaves begin to expand. Then, they can be moved to warmer locations such as the living room. Avoid direct sunlight. Hyacinths may have a tendency not to have an elongated flower stem and “stick” in the clasp of leaves. This problem may be overcome by placing the plants in the dark for a few days or placing a paper cone over the plants in order to “draw” the flower out of the bulbs. Warmer temperatures will result in rapid growth. Once the bulbs are blooming, move the pots to a cool location each night. The cooler temperatures will prolong the life of the flowers. Small pots of crocus can even be placed in your refrigerator overnight.
Discard tulips, narcissus, crocus, and hyacinths after flowering as they normally are “spent” and are not likely to ever flower satisfactorily again.
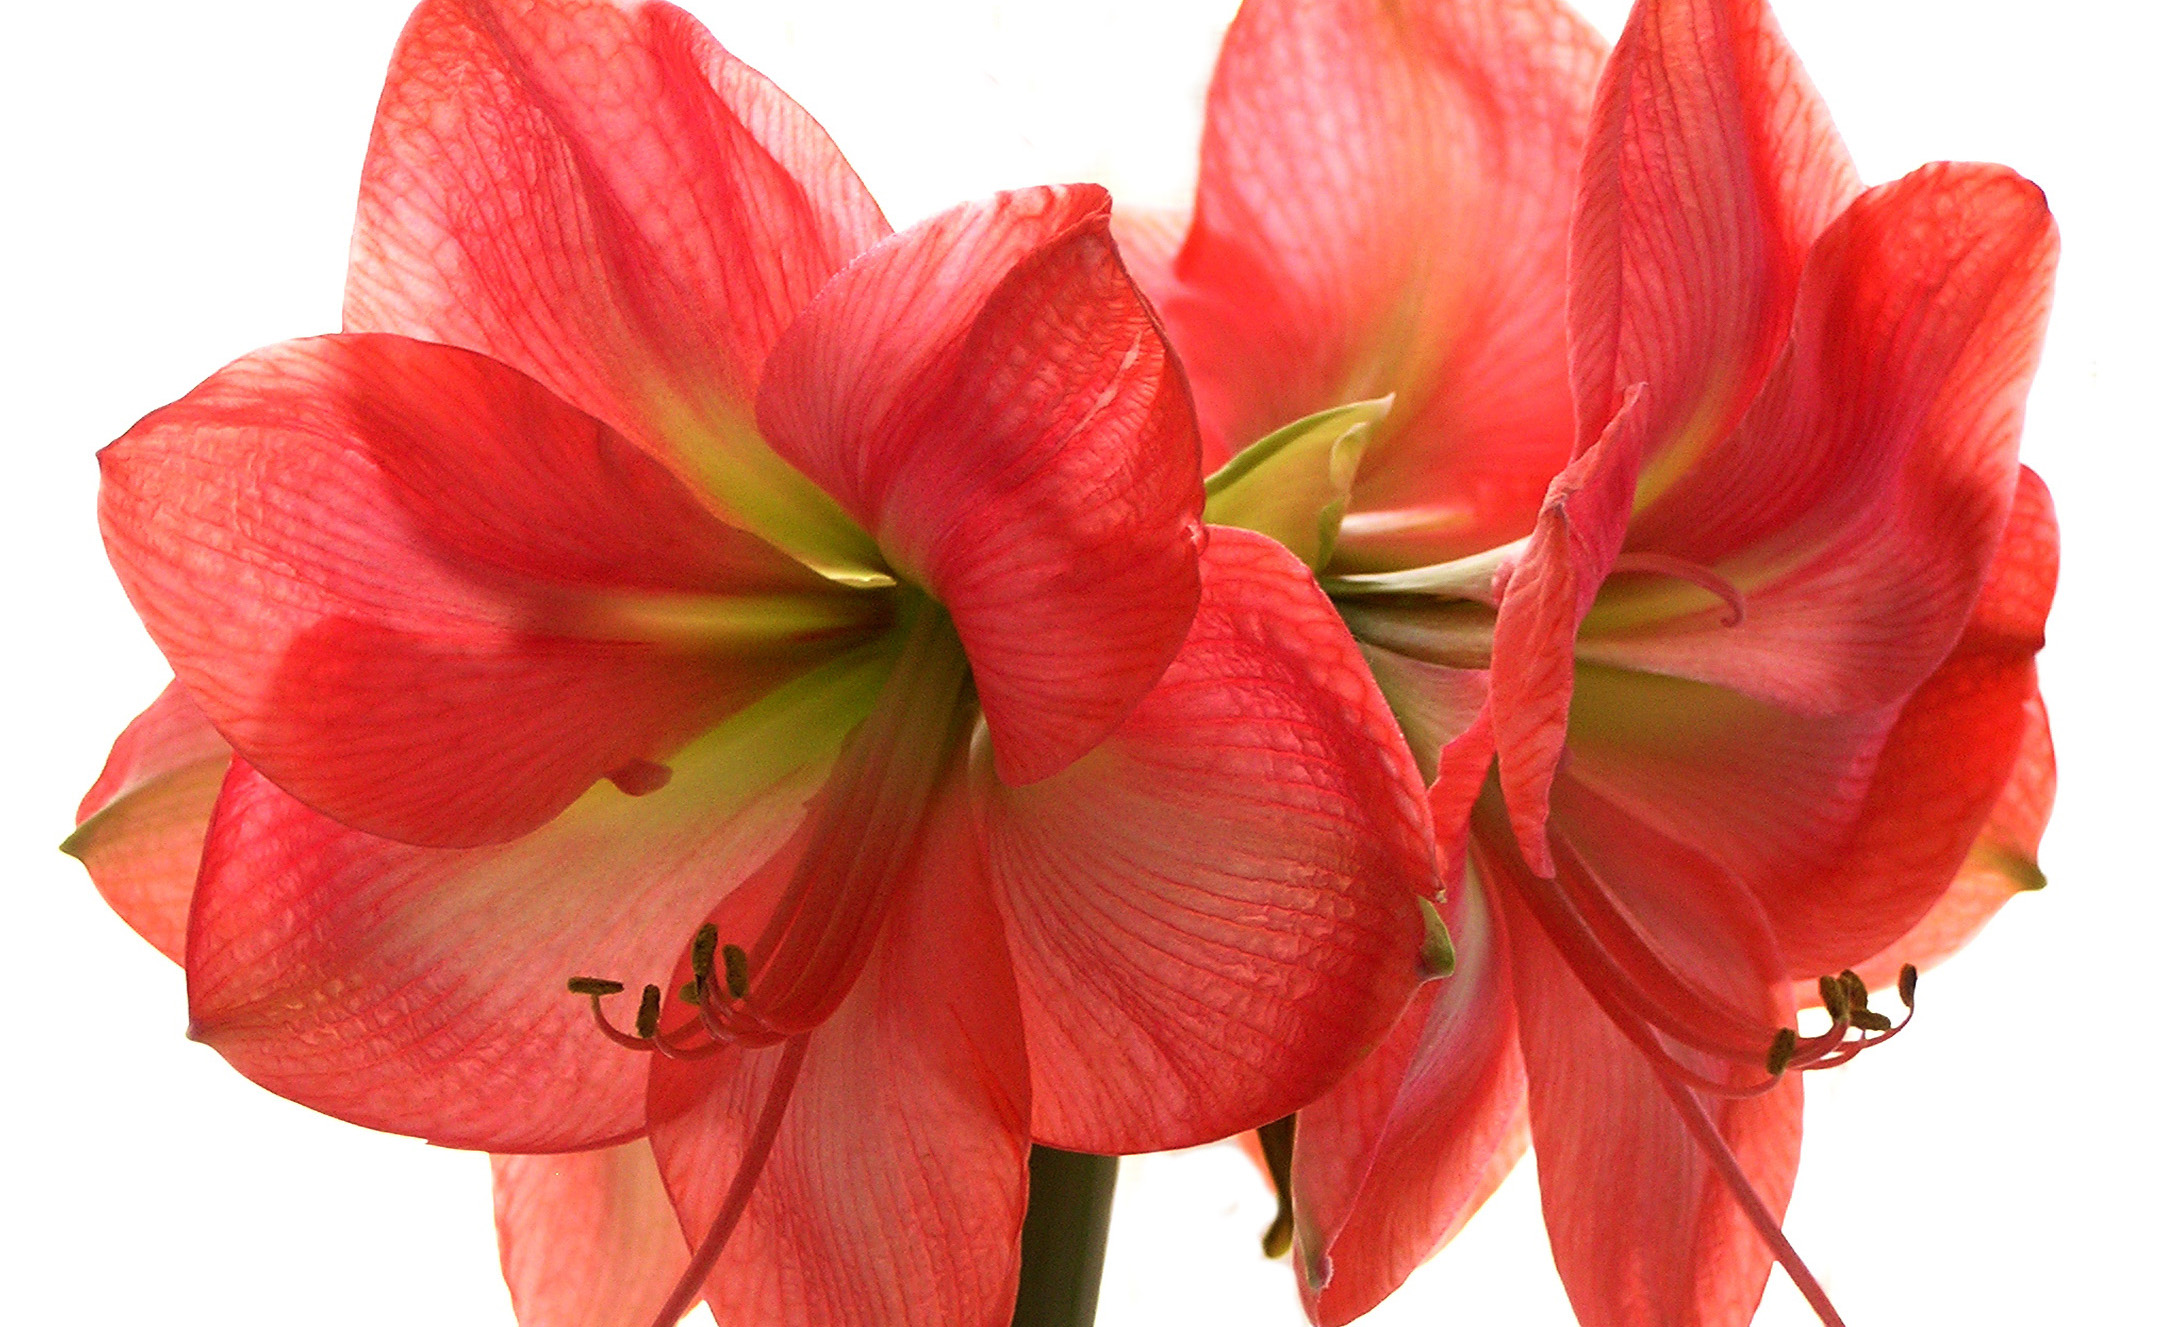
Amaryllis culture
The amaryllis is a tender bulb that will bloom without special treatment when first purchased. It should be potted up in light, rich soil in a pot that is only 1–2 inches larger in diameter than the bulb. The upper half of the bulb should be exposed above the soil. After watering thoroughly, allow the soil to become quite dry. Water more frequently after the flower stalk appears, but never water when the soil is already moist. Put the plant in a warm, sunny spot until the flower buds show color, then move it out of direct sunlight.
After blooming, cut off the flowers to prevent seed formation. The foliage should be handled as if it were a sun loving houseplant. Place it in the brightest possible location indoors until it is warm enough to sink the pot in soil outdoors where it will receive dappled sunlight at first. Gradually move it to a brighter location where eventually it has full sun for at least five or six hours daily. Fertilize with a balanced houseplant food at regular intervals to build up the nutrients needed for blooming the following year.
Amaryllis should be brought indoors before the first frost in the fall. Traditionally, the bulb is then given a resting period by placing it in a dark location, withholding all water and allowing the leaves to dry. The bulb may be forced into bloom again after resting eight weeks, or even less, should new growth appear spontaneously. If necessary, repot in a slightly larger container. If the pot is still large enough, remove the upper 2 inches of soil and topdress with fresh potting soil. This completes the cycle, which may be repeated annually for many years of lovely blossoms.