by Tracy Bogard | Jun 14, 2021 | Growing Tips, Information
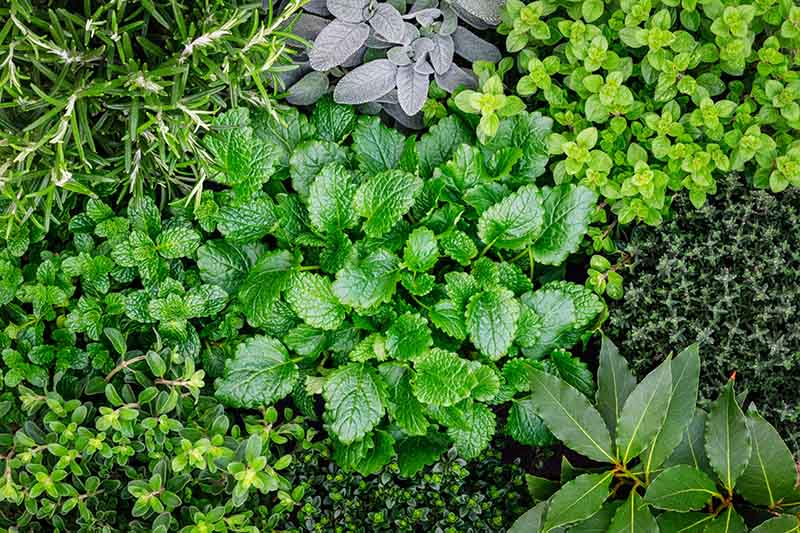
Easiest Herbs to Grow Many of us have learned or remembered how to prepare home cooked meals, courtesy of the quarantine. Part of our culinary enjoyment is adding herbs to enhance the dishes. Many herbs are easy to grow both inside and outside. Herbs come as annuals...

by Tracy Bogard | Apr 17, 2021 | Growing Tips, NMSU
Southwest Yard & Garden – Hummingbirds are BACK This week, in honor of the golden currant (Ribes aureum) shrubs blooming in the Los Lunas bosque and at the City of Albuquerque BioPark Botanical Garden, I’m writing about hummingbirds in the garden. I learned...
by Tracy Bogard | Apr 17, 2021 | Growing Tips, NMSU
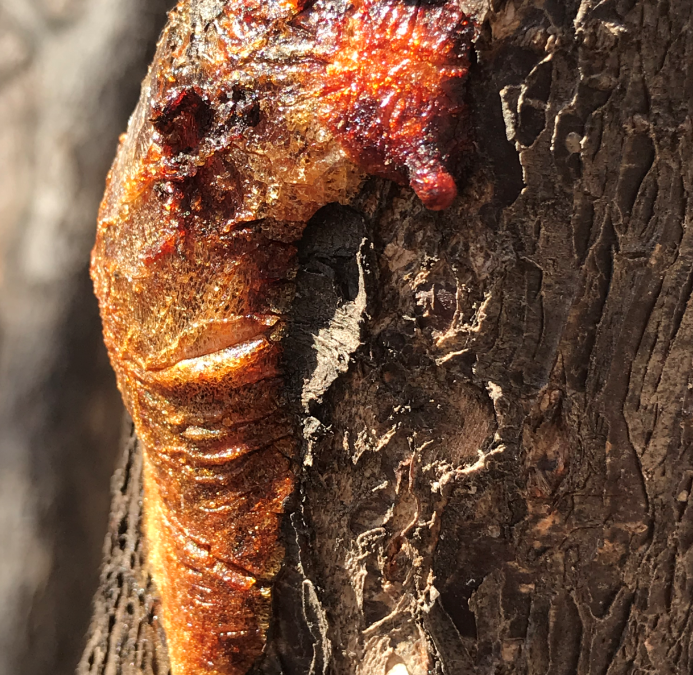
Southwest Yard & Garden – Diagnosing Trees with Oozing Sap… Again Reddish sap oozing from a plum tree at Bachechi Open Space in Albuquerque, March 2021. Photo credit M. Rehn. (but this time, the sap is reddish-orange and doesn’t stink!) Question: Any idea...
by Tracy Bogard | Apr 17, 2021 | Growing Tips, Information
The Value of Using Native Plants photo: Pixaby This commentary excerpt is from Ron Krupp, author of “The Woodchuck’s Guide to Gardening,” “The Woodchuck Returns to Gardening” and his forthcoming book, “The Woodchuck’s Guide to Ornamentals & Landscape Plants.”...
by Tracy Bogard | Apr 17, 2021 | Growing Tips, Information
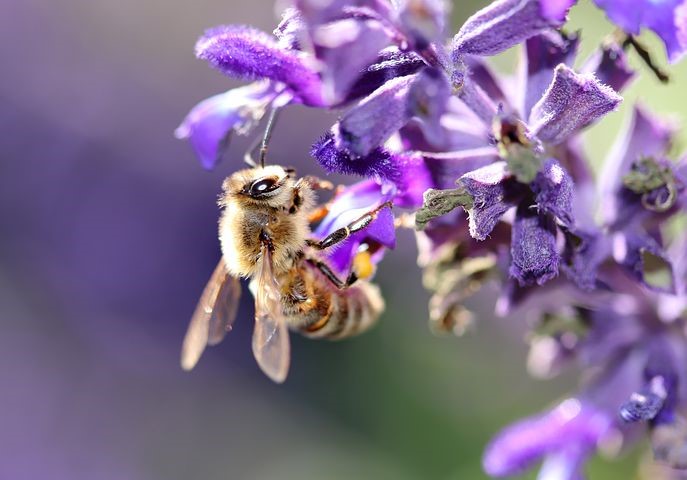
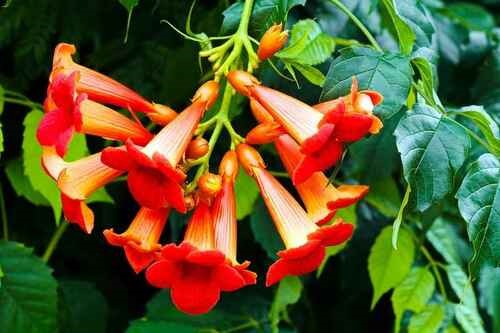
Starting a Pollinator Garden photo: K. Shadock For years I contemplated, rather than acted, on the idea of planting a garden to attract pollinators. That is until the fall I moved to a house with three well established Trumpet Vines (Campsis radicans) and a large...
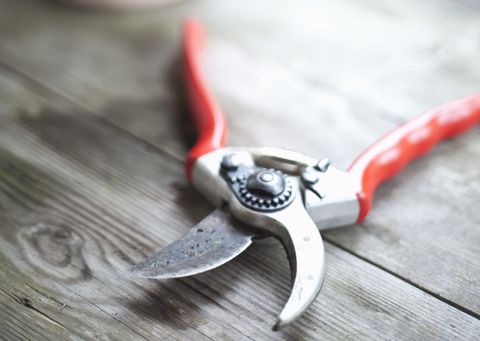
by Tracy Bogard | Mar 17, 2021 | Growing Tips, Information
How to Clean & Sharpen Your Handheld Pruners Extension.unh.edu Editor’s Note: Rather than rewrite, I am simply sharing the 2018 blog and the link to the very helpful video. When it comes to pruning, there is nothing better than having a well maintained pair of...